Artificial grass is easy to live with when you build a solid base and follow a few pro steps. Many DIY jobs fail because the groundwork is too thin, the drainage is poor, or the seams are rushed. This guide shows a clear process that works for most UK gardens and small spaces. You will see what to buy, how deep to dig, and how to avoid common mistakes. With that in mind, let’s start by checking your kit.
What tools and materials do I actually need?
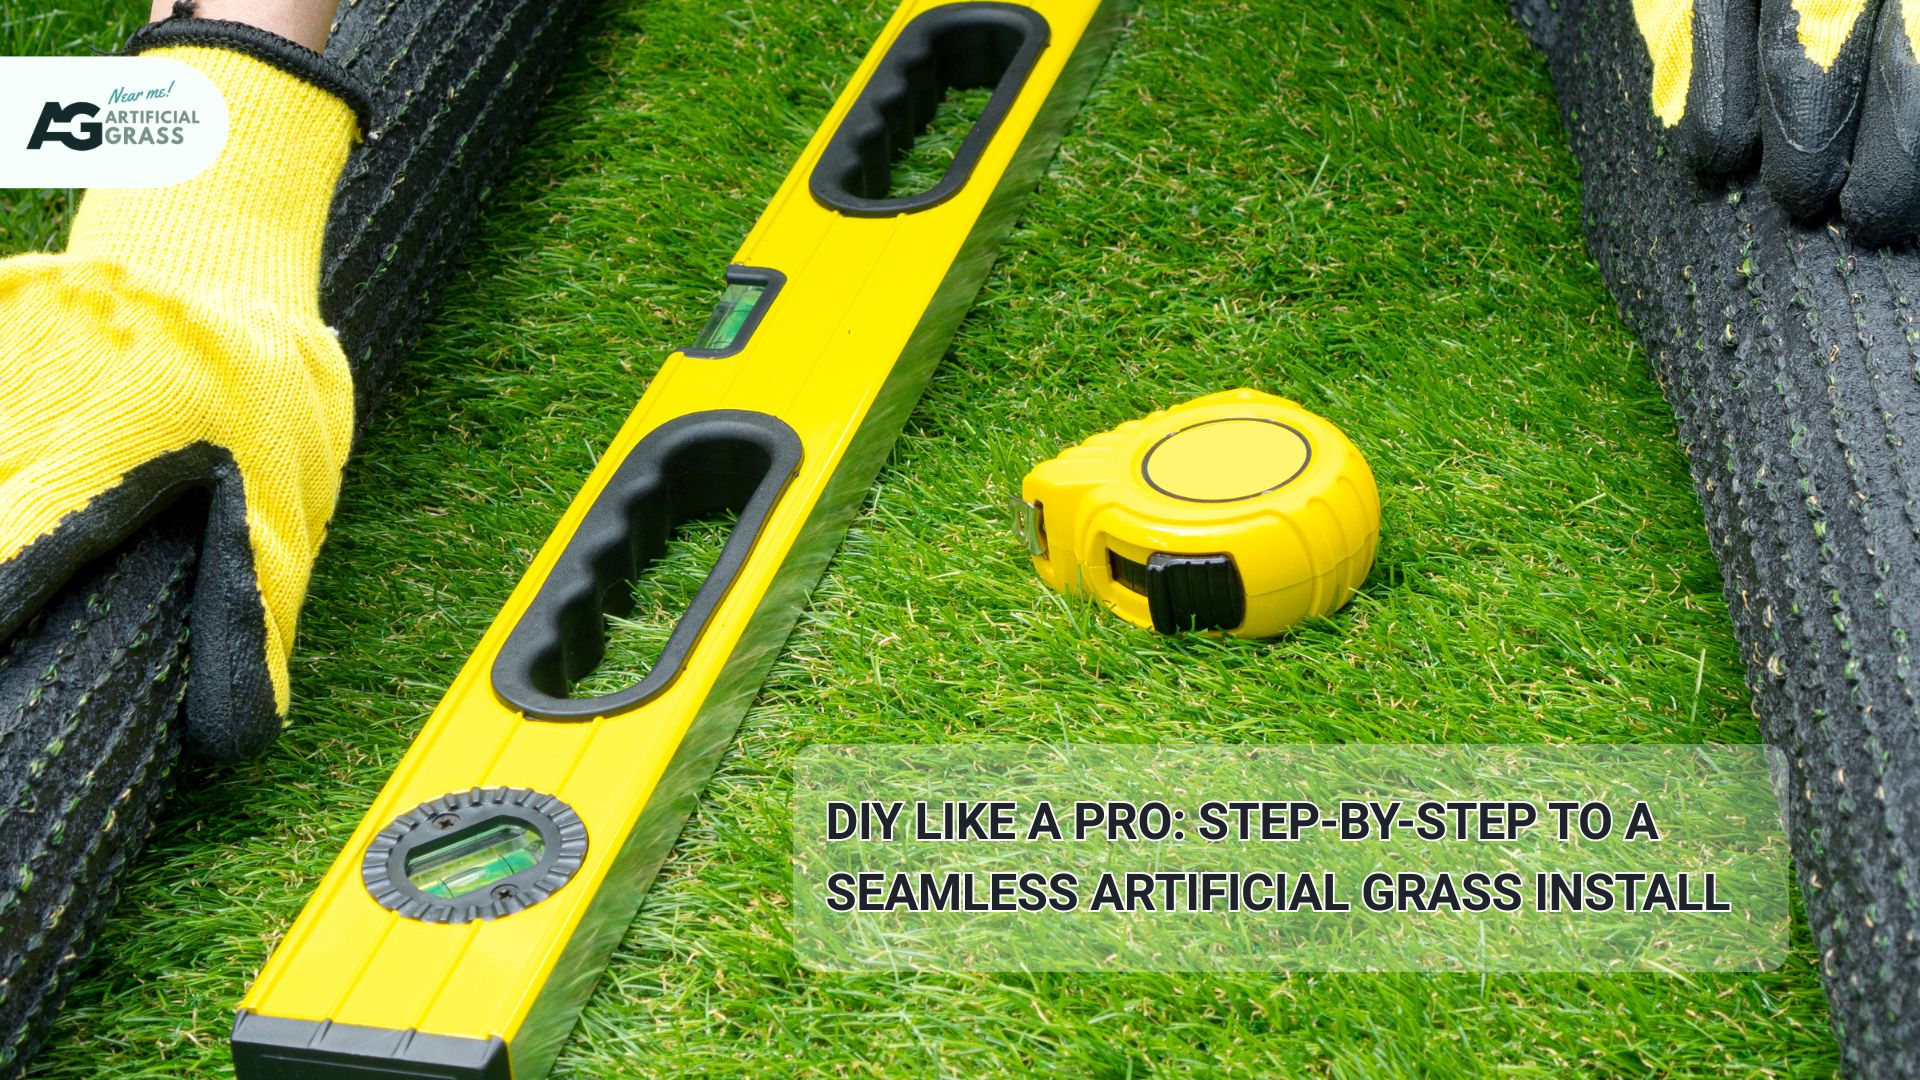
You need a plate compactor, spade, rake, straight edge, string line, spirit level, utility knife with spare blades, and a stiff brush. You also need MOT Type 1, granite dust for the laying course, geotextile membrane, chosen edging, joining tape, PU adhesive, and pins. Your turf roll, kiln-dried silica sand (and zeolite for pets), complete the list. Shock pad and drainage mats are optional but useful for play areas or hard bases. With the shopping list ready, confirm the site is suitable.
Is my site suitable for artificial grass?
A good site has firm ground, space for a stable sub-base, and a clear route for water to leave. Avoid areas that collect water with nowhere to drain, or plan a soakaway or gulley. Check for buried services and tree roots before you dig. Measure access for turf rolls, which are bulky and heavy. Once the area checks out, you can plan depth and base materials.
How deep should I dig, and what base should I use?
You should dig deep enough to allow for a solid sub-base, a 20–25 mm laying course, and the turf thickness. Most domestic lawns use 50–75 mm of compacted MOT Type 1 under 20–25 mm of compacted granite dust. Remove all organic material and level the formation before adding stone. Keep edges clean so the base ties into your edging later. With depth set, you can sort drainage and falls.
Do I need drainage, and how do I plan the fall?
Yes, you need a slight fall so rainwater flows to a soakaway, gulley, or a garden area that can accept it. A fall of around 1–2% is typical for small lawns and is easy to set with string lines and pegs. Avoid sending water towards buildings or over neighbours’ boundaries. If the ground is heavy clay, consider a French drain or soakaway crate. Once water has a path, you can add the membrane.
Do I need a weed membrane under the turf?
Yes, a geotextile membrane stops growth from below and keeps fines out of the sub-base. Lay it flat over the formation or at the top of the sub-base, depending on your installer’s method. Overlap the sheets by at least 100 mm and pin them so they do not ruck. Do not use polythene, because it blocks water. With the membrane placed, set out and fix your edging.
How do I set levels and install the edging?
You should fit the edging before compacting so the base can butt tightly against it. Use steel, composite, or treated timber that sits to the finished height of the turf. Fix it straight and true along your string lines and check heights with a level. Leave a neat trench inside the edge to receive the stone. With the edge firm, you can bring in the sub-base.
How do I compact the sub-base correctly?
You should add MOT Type 1 in thin layers and compact each pass with a plate compactor. Lightly misting the stone helps it knit and reduces dust while compacting. Check levels often and keep the fall consistent towards your outfall. The finished base should feel tight underfoot with no movement. Once stable, you can add the laying course.
What should I use for the laying course and how thick should it be?
You should use granite dust or grano to achieve a compacted thickness of about 20–25 mm for a smooth, stable surface. Avoid soft, sharp sand, which can move and hold water, leading to dips and odours. Screed the dust with rails or a straight edge, then compact to a firm, even finish. Fill low spots and re-compact until flat. With a smooth bed ready, decide if you need a shock pad.
Do I need a shock pad for comfort or play?
You need a shock pad if you want a softer underfoot feel or fall protection in a play zone. Interlocking pads or rolls go above the laying course and below the turf. Taper edges so the pad does not create a ridge at borders. Check that the pad drains freely and that the perforations are not blocked. With the comfort set, you can roll out the turf.
How do I roll out and position the turf?
You should roll the turf with the pile facing the same way across the whole lawn. Let the rolls relax for an hour to allow creases to ease before trimming. Rough-cut the edges, leaving a small overhang to fine-trim later. Keep factory edges for joins and plan seams away from main sightlines. When the layout looks right, you can make your joins.
How do I make strong, invisible seams?
You should cut clean edges, align the grain, and use joining tape with PU adhesive for a permanent bond. Fold back the edges, lay the tape glue-side up, and spread adhesive evenly according to the manufacturer’s guidance. Bring the edges together without forcing, then weight the seam while it cures. Wipe away any squeeze-out before it sets. With seams secure, you can trim and fix the perimeter.
Do I need infill and how much should I use?
Yes, infill supports fibres, adds ballast, and aids drainage; most lawns use kiln-dried silica sand at 5–12 kg/m² depending on pile height. Pet areas benefit from a zeolite blend to bind ammonia, and sport areas may use TPE/EPDM for extra bounce. Spread in light passes and brush between coats so the sand drops into the pile. Avoid dumping heavy heaps that crush fibres. When the infill is in, you can brush and finish.
How do I brush, settle, and finish the lawn?
You should power-broom or brush the pile against the grain to lift fibres and evenly settle the infill. Fine-trim edges so they sit tight to the edging without gaps. Pin hidden areas where needed and check seams one last time. Rinse lightly to remove dust and let the lawn rest for a day. With finishing done, it pays to know the traps to avoid next time.
What are the most common mistakes and how do I avoid them?
The most common mistakes are thin bases, no fall, sharp sand laying courses, rushed seams, and no infill. You avoid them by specifying base depth, using granite dust, checking levels, weighting seams, and brushing in sand. You also avoid problems by sealing edges and keeping drains clear. Keep a photo record of each layer for warranty and resale. If your ground is solid already, you might prefer to install over concrete or decking.
Can I install artificial grass on concrete, decking, or a balcony?
Yes, you can lie on hard bases when you add drainage mats and a shock pad (if desired), and secure edges against wind uplift. The surface must be sound, clean, and free-draining with no standing water. Use perimeter adhesive sparingly and consider renter-friendly, non-bonded layouts. Check building weight limits and access rules first. If you have pets, plan for cleaning and odour control from day one.
How do I set up a low-odour pet area?
You should use a permeable base, zeolite-rich infill, and a simple rinse point within hose reach. Train pets to use a high-drain zone and apply enzyme cleaner in warm weather. Remove solids quickly and keep leaf litter off the surface, a small gulley or soakaway nearby speeds drying. With the setup sorted, a weekend plan helps you pace the work.
What does a simple weekend schedule look like?
Day 1 is for stripping turf, setting edging, importing sub-base, and compacting in layers. Day 2 is for the laying course, optional pad, turf rollout, seams, trimming, and infill. Allow the seams to cure for 24 hours and avoid heavy traffic during that time. Keep tools clean and blades sharp to work safely and quickly. With timing clear, it’s easier to plan a budget.
What should I budget and where can I save without cutting corners?
Your costs depend on the area, access, and product choice, but most of your spending goes toward turf quality and base depth. You can save by doing excavation and waste removal yourself, while keeping pro-grade materials. Do not swap granite dust for soft sand, and do not skip infill to cut costs. Spend on a good compactor hire and proper adhesive for durable seams. Before you begin, review safety and disposal procedures.
Health, safety, and disposal: what should I know before I start?
You should wear gloves, eye protection, and a dust mask when cutting or compacting, and ear protection with the plate compactor. Lift rolls with help and use safe knife technique, changing blades frequently. Keep cables, pets, and children away from the work area. Dispose of spoil and old turf at licensed sites and ask suppliers about recycling options. These same principles are essential when designing safe artificial play spaces, ensuring that every project is both secure and sustainable. With safety in place, you can wrap up with a tidy, long-lasting finish.
Conclusion
A pro-level result at home comes from a firm base, a smooth laying course, neat seams, and the right infill. Set a small fall for drainage, choose UV-stable turf, and brush the pile to keep it standing tall. Keep edges sealed, clean up run-off paths, and give seams time to cure. Build once, maintain lightly, and enjoy a clean, green space that works all year. For best results, consider working with trusted artificial lawn installers who can ensure a flawless finish and lasting quality.